At one time I decided to try working my way through my copy of Apicius and trying all the recipes... Someday I'll actually do that. In reality what I did was have a go at the first one that looked easy and delicious - and stopped, because it was both; and because I had a baby and no more brain cells to rub together... so here I present: That time I got Organised Enough to Take Photos of me having a bash at Frontonian Chicken... which is Both Easy and Delicious.
Recipe
The original recipe (in latin)
[6.8.12] pullum Frontonianum: pullum praedura, condies liquamine oleo mixto, cui mittis fasciculum aneti porri satureiae et coriandri uiridis, et quoques. ubi coctus fuerit leuabis eum, in lance defrito perungues, piper aspargis et inferes.
-- from Apicius
The translation:
TRANSLATION: 6.8.12. Frontonian chicken : Sear the outside of the chicken, flavour with a mixture of liquamen and oil, to which you add a bundle of dill, leek, savory and green coriander and cook it. When it is cooked, lift it out, drizzle defrutum over it on the serving dish, sprinkle with pepper and serve
-- from Apicius
My redaction
Note that my version uses substitutions, doesn't have all the herbs, and uses my own previous attempt at defrutum. I'll present reasonable alternatives where I know them.
Ingredients
- 4 chicken pieces (legs work well)
- liquamen (or equivalent eg anchovies/paste)
- oil (for frying)
- leek
- savory
- fresh/green coriander (leaves, not seeds)
- pepper (to taste)
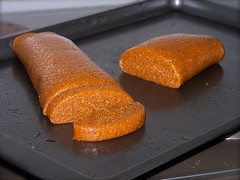
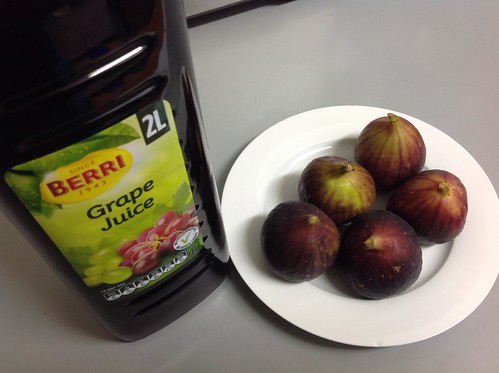
- defrutum (or equivalent eg Maggie Beer Vino Cotto is a great substitute)
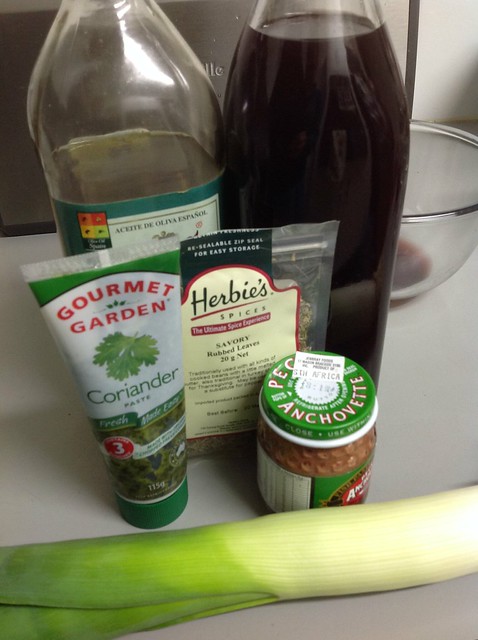
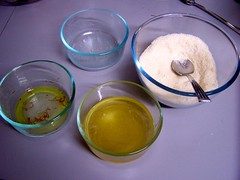
Frontonian chicken: ingredients
Equipment
- One heavy pot and/or frypan with a lid
- Stirring utensils
Basic recipe (quick overview - full method is below)
- Prep: Slice the leeks
- Prep: make up oil/liquamen mixture
- Sear chicken in oil
- Add leeks and herbs
- Cook over low heat until chicken and leek are thoroughly cooked
- Drizzle defrutum over it and add pepper to taste
- Eat and enjoy!
Prep: slice the leeks
I sliced normal leeks into long thin vertical slices - just for an interesting noodly texture. You can also use whole baby-leeks - which are delicious and easy to use. I found the long leeks a bit hard to fry and also to eat, at this size. I would probably slice them into shorter sections in future.
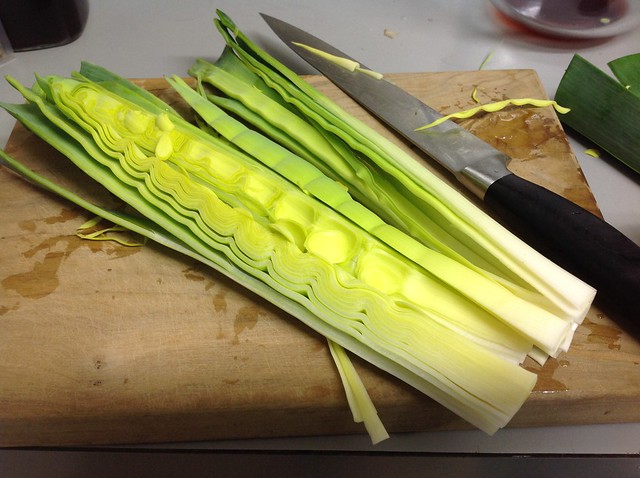
Leeks
Prep: make up oil/liquamen mixture
I chopped the anchovies finely and mixed into some oil. This makes a reasonable substitute for liquamen. The anchovies liquidise further upon cooking and melt into the dish. You really can't taste them at all - the dish is not fishy in any way. I've had die-hard fish-haters be extremely surprised to find out it had anchovies in it... it just adds salt and umami to the end result - and is offset by the sweet/sour of the defrutum.

Mix oil and liquamen
Sear chicken in oil
In this photo series I actually used duck legs that I'd cooked earlier (in bulk), so you won't see them actually cooking here - but they did need a good searing to give them a delicious browning.

Sear the chicken

Lightly seared
Add leeks and herbs
The savory I had was dried and the coriander was mush - so i didn't bother with "bundling". I also dislike dill so didn't add it.

Add leeks and herbs
Cook over low heat until chicken and leek are thoroughly cooked
I added the lid and cooked on low for about 25 min.

Add lid and cook
I left it to cook long enough for the leeks to fully wilt and to caramelise a little. As mentioned before, my duck was already cooked, so your cooking time might be longer. You will need to check the chicken is thoroughly cooked into the middle with the "prick and test for pink juice" test.
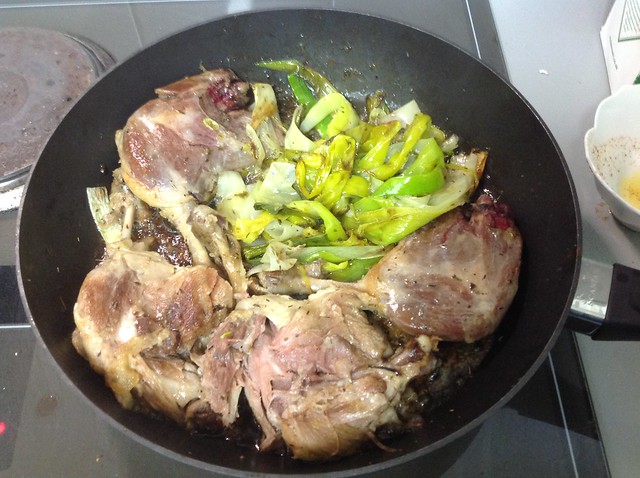
and done
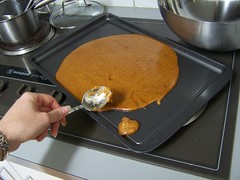
Drizzle defrutum over it and add pepper to taste, eat and enjoy!
This is the "to taste" section. I added a couple of tablespoons of my defrutum. You need enough so that the sweet of this counterbalances the salty anchovies. It shouldn't be too sickly sweet - it's an enhancement, not the main flavour profile.
Then add pepper to taste and enjoy!
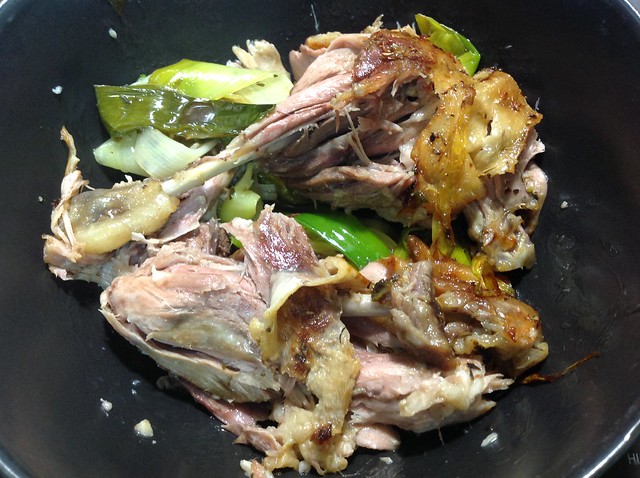
The result!
Sources
Apicius
CHRISTOPHER GROCOCK and SALLY GRAINGER(2006)
Apicius
PROSPECT BOOKS
Relevant page to this recipe: p232/p233
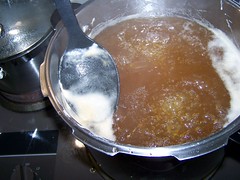
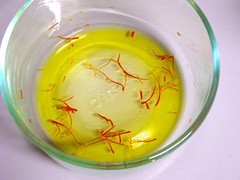
!["then add [the spices] and boyle them one quarter of an hour longer"](http://farm9.staticflickr.com/8512/8501968051_22fbe76195_m.jpg)
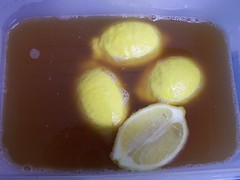
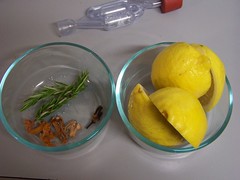
!["take [lemmons] and put them in a vessel ... take the liquor boyling...& pour it into the vessel"](http://farm9.staticflickr.com/8230/8501968267_e3de0a73db_m.jpg)